How to Build an MCP Server with Cloudflare Browser Rendering
A practical tutorial on exposing screenshots, scraping, and PDF rendering to AI agents via the Model Context Protocol — built on Cloudflare Workers + Browser Rendering, with lessons from running it in production.
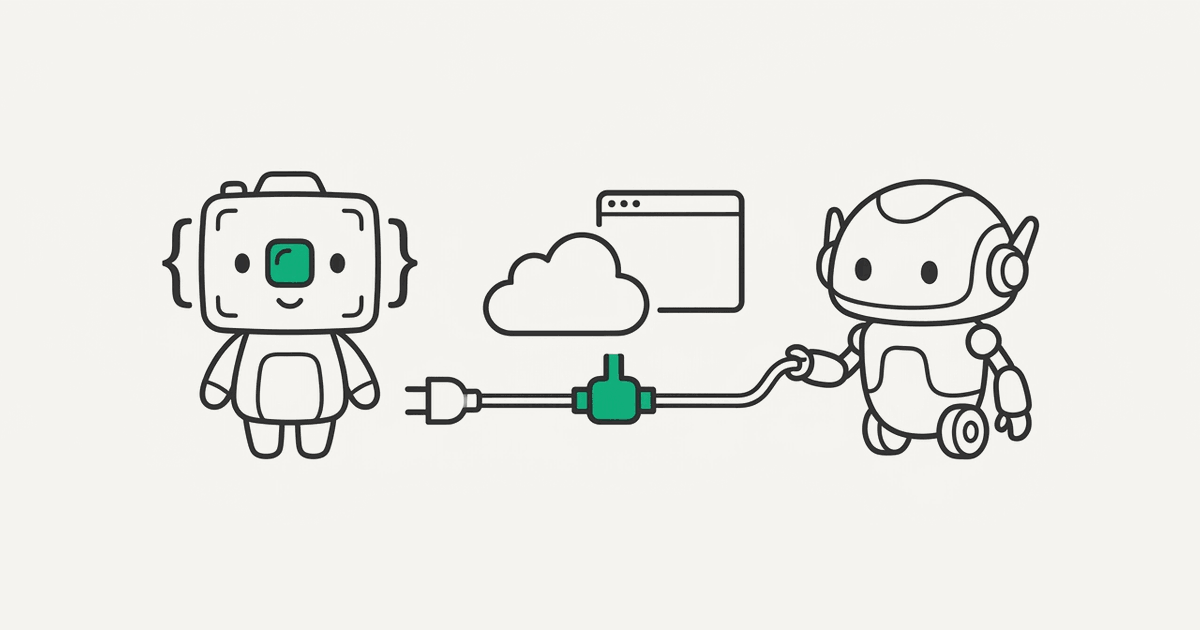
The Model Context Protocol is the standard for letting AI agents — Claude, Cursor, Zed, and increasingly the rest of the ecosystem — call your tools. If you've built a screenshot or web-scraping capability on Cloudflare Browser Rendering, wrapping it as an MCP server is one of the highest-leverage things you can do with a few hundred lines of code. It turns "I have a screenshot API" into "any AI agent can take a screenshot, and the user doesn't need to wire up an HTTP client."
This tutorial covers building a Remote MCP server on Cloudflare Workers that exposes Browser Rendering capabilities — screenshot, scrape, PDF — as MCP tools. We'll go end to end: scaffolding the Worker, defining the tools, wiring up auth, and deploying to a public endpoint. Then we'll cover the things we learned shipping this to real users.
If you're new to Browser Rendering on Cloudflare, the Cloudflare Browser Rendering API tutorial covers the underlying platform — this post assumes you've already got the basics down.
Why Build an MCP Server Around Browser Rendering
Three reasons it's worth the effort.
Agents need browsers. A surprising amount of useful agent work — verifying a deploy, summarizing a competitor's homepage, generating screenshots for a status report, extracting data from a JavaScript-rendered SPA — requires a real browser. APIs aren't enough. Giving Claude or Cursor a screenshot tool unlocks workflows that would otherwise require a human to copy-paste.
Cloudflare is the right place to host it. A Remote MCP server is a long-lived HTTPS endpoint. Workers gives you zero-cold-start hosting, free TLS, and direct access to Browser Rendering, R2, KV, and D1 in the same code. There's no faster path from "I want to wrap my browser layer as an MCP server" to "it's deployed and someone can connect to it."
The auth story is finally solid. Until recently, Remote MCP required hand-rolled OAuth or a stack of bearer tokens. Cloudflare's agents SDK ships with built-in OAuth provider support, so you can use GitHub, Google, or your own identity provider as the login flow — and the agent connects on behalf of an authenticated user.
What You Need
- A Workers plan — the Free plan (10 minutes of browser time/day, 3 concurrent browsers) is enough to build and test this; the Paid plan ($5/month minimum) raises the limits
wranglerinstalled and authenticated- An MCP client to test with (Claude Desktop, the MCP Inspector, or Cursor)
- A GitHub OAuth app if you want to follow the authenticated path
Scaffolding the Server
Cloudflare maintains create-cloudflare (C3) demo templates for remote MCP servers. There's an authless variant for quick prototyping and a GitHub-OAuth variant for anything you'll deploy publicly. We'll use the OAuth one since we want real auth:
npm create cloudflare@latest -- my-browser-mcp \
  --template=cloudflare/ai/demos/remote-mcp-github-oauth
cd my-browser-mcp
If you just want to poke at it without wiring up OAuth first, scaffold the authless template instead and add auth later:
npm create cloudflare@latest -- my-browser-mcp \
  --template=cloudflare/ai/demos/remote-mcp-authless
You'll get a project laid out roughly like this:
my-browser-mcp/
├── src/
│   ├── index.ts        # Worker entry point + OAuth handler
│   └── server.ts       # MCP tool definitions
├── wrangler.toml
└── package.json
Add a browser binding to wrangler.toml:
name = "my-browser-mcp"
main = "src/index.ts"
compatibility_date = "2026-05-01"
compatibility_flags = ["nodejs_compat"]

browser = { binding = "MYBROWSER" }

[[durable_objects.bindings]]
name = "MCP_OBJECT"
class_name = "MyBrowserMCP"

[[migrations]]
tag = "v1"
new_sqlite_classes = ["MyBrowserMCP"]
Install the Browser Rendering package:
npm install @cloudflare/puppeteer
Defining the Tools
The interesting code lives in src/server.ts. We'll expose three tools: screenshot, extract_markdown, and render_pdf. Each one wraps a Browser Rendering call and returns the result as MCP content.
import { McpAgent } from 'agents/mcp';
import { McpServer } from '@modelcontextprotocol/sdk/server/mcp.js';
import puppeteer from '@cloudflare/puppeteer';
import { z } from 'zod';

export interface Env {
  MYBROWSER: Fetcher;
  SCREENSHOTS: R2Bucket;
  MCP_OBJECT: DurableObjectNamespace;
}

export class MyBrowserMCP extends McpAgent<Env> {
  server = new McpServer({
    name: 'browser-rendering',
    version: '1.0.0',
  });

  async init() {
    this.server.tool(
      'screenshot',
      'Capture a screenshot of a web page. Returns a public URL to the image.',
      {
        url: z.string().url().describe('The URL to screenshot'),
        full_page: z.boolean().default(false).describe('Capture the entire scrollable page'),
        width: z.number().int().min(320).max(2560).default(1280),
        height: z.number().int().min(240).max(2560).default(720),
      },
      async ({ url, full_page, width, height }) => {
        const browser = await puppeteer.launch(this.env.MYBROWSER);
        const page = await browser.newPage();
        await page.setViewport({ width, height });
        await page.goto(url, { waitUntil: 'networkidle0', timeout: 25000 });
        const png = await page.screenshot({ type: 'png', fullPage: full_page });
        await browser.close();

        const key = `mcp/${crypto.randomUUID()}.png`;
        await this.env.SCREENSHOTS.put(key, png, {
          httpMetadata: { contentType: 'image/png' },
        });

        return {
          content: [
            {
              type: 'text',
              text: `Screenshot saved. Public URL: https://cdn.example.com/${key}`,
            },
          ],
        };
      },
    );

    this.server.tool(
      'extract_markdown',
      'Fetch a page and return its main content as markdown.',
      {
        url: z.string().url(),
      },
      async ({ url }) => {
        const browser = await puppeteer.launch(this.env.MYBROWSER);
        const page = await browser.newPage();
        await page.goto(url, { waitUntil: 'domcontentloaded', timeout: 20000 });
        const markdown = await page.evaluate(() => {
          // Simplified — in practice, use a Readability-style extractor
          return document.body.innerText.slice(0, 8000);
        });
        await browser.close();

        return {
          content: [{ type: 'text', text: markdown }],
        };
      },
    );

    this.server.tool(
      'render_pdf',
      'Render a web page as a PDF. Returns a public URL.',
      {
        url: z.string().url(),
        format: z.enum(['A4', 'Letter']).default('A4'),
      },
      async ({ url, format }) => {
        const browser = await puppeteer.launch(this.env.MYBROWSER);
        const page = await browser.newPage();
        await page.goto(url, { waitUntil: 'networkidle0', timeout: 25000 });
        const pdf = await page.pdf({ format, printBackground: true });
        await browser.close();

        const key = `mcp/${crypto.randomUUID()}.pdf`;
        await this.env.SCREENSHOTS.put(key, pdf, {
          httpMetadata: { contentType: 'application/pdf' },
        });

        return {
          content: [
            {
              type: 'text',
              text: `PDF saved. Public URL: https://cdn.example.com/${key}`,
            },
          ],
        };
      },
    );
  }
}
The shape worth noticing: each tool has a name, a description, a Zod schema for its parameters, and an async handler that returns MCP content blocks. The descriptions matter a lot — they're what the AI agent reads to decide whether to call your tool and what arguments to pass. Vague descriptions produce bad tool calls.
Wiring Up the Entry Point
src/index.ts glues the OAuth provider, the MCP transport, and the agent class together. The GitHub-OAuth template gives you most of this — including a GitHubHandler that runs the login flow — so you mostly need to point the provider at your agent class:
import { OAuthProvider } from '@cloudflare/workers-oauth-provider';
import { MyBrowserMCP } from './server';
import { GitHubHandler } from './github-handler';

export { MyBrowserMCP };

export default new OAuthProvider({
  apiRoute: '/mcp',
  apiHandler: MyBrowserMCP.serve('/mcp'),
  defaultHandler: GitHubHandler,
  authorizeEndpoint: '/authorize',
  tokenEndpoint: '/token',
  clientRegistrationEndpoint: '/register',
});
Two things worth calling out here. First, MyBrowserMCP.serve('/mcp') mounts the Streamable HTTP transport, which is the current recommended MCP transport. The older Server-Sent Events transport is deprecated but still needed by some clients — if you need it, additionally expose MyBrowserMCP.serveSSE('/sse') (newer agents versions also accept an apiHandlers map so you can serve both transports from one provider). Second, defaultHandler is whatever handles non-API routes — here it's the template's GitHubHandler, which renders the login page and completes the OAuth dance.
For a quick test without setting up OAuth at all, scaffold the authless template instead — but anything you deploy publicly should have real auth, because the alternative is "anyone on the internet can spend your account's browser time."
Testing It
The MCP Inspector is the fastest way to test a Remote MCP server. Run it locally:
npx @modelcontextprotocol/inspector
In the Inspector UI, set the transport to "Streamable HTTP", the URL to your local Worker (http://localhost:8787/mcp), and connect. (If you also exposed the legacy SSE transport, point it at /sse and pick "SSE" instead.) You should see your three tools listed. Invoke screenshot with url: "https://example.com" and confirm a PNG lands in R2 and a public URL comes back.
Once that works, deploy it:
wrangler deploy
Then connect from Claude Desktop by adding the deployed URL to your MCP server config. Or connect from Cursor — same protocol, same flow.
Authentication Patterns
You have three credible options for auth on a Browser Rendering MCP server, in increasing order of effort:
- Bearer token in a header. Easiest. Generate a token, share it with users, validate it in every request. Fine for internal tools, not great for "I want strangers to use this."
- OAuth via a real provider (GitHub, Google). Use Cloudflare's
agentsSDK OAuth provider. Users go through a familiar login flow. You get an authenticated user identity on every tool call. - Your own auth system. If you already have user accounts elsewhere, implement the OAuth provider yourself and federate. More work, but it integrates with your existing billing and permissions.
For internal use, option 1 is fine. For anything public, do option 2 — the SDK does most of the work.
Experience Report: What Surprised Us
A few months running this in production for AI agents has surfaced a different set of issues than running the same browser layer for HTTP clients. Some of these probably generalize to any MCP server, not just browser-backed ones.
Agents are noisy clients. Where a human user might take three screenshots in an afternoon, an agent debugging its own work will take fifteen in a minute. The traffic shape is bursty and unpredictable. We had to raise the concurrent session limit on our Cloudflare account within the first week.
Agents retry tools differently than humans. When a screenshot times out, a human gives up or tries something else. An agent will often retry the exact same call three times, then change one parameter and retry, then ask the user what's wrong. If your tool is non-idempotent or has side effects, you'll see the same effect three times. Make tools idempotent where you can, and surface clear, structured errors so the agent stops faster.
Long responses get truncated by the client. Some MCP clients truncate tool results past a certain size. If your extract_markdown tool returns 50 KB of text, the agent might only see the first few KB. We cap response length at 8 KB by default and surface a more_available: true flag with a follow-up tool the agent can call for the next chunk.
Image responses are not always rendered. MCP supports image content blocks for tool results, which sounds like the right thing for screenshots. In practice, support varies by client — some render them inline, some don't, some have a size limit. Returning a public URL as text is more reliable and more useful, because the agent can include the URL in its summary to the user. We use image blocks only for clients we know support them, and gate on the client capabilities.
Agent-friendly tool descriptions are a real skill. Our first tool descriptions were the same one-liners we'd write for human-facing API docs. The agent kept misusing them. After rewriting descriptions to be more imperative ("Use this tool when…", "Do not use this tool for…") and adding examples in the description, tool call accuracy went up noticeably. Don't underestimate this. The description is part of the prompt.
Concurrent Durable Object writes will bite you. If you store state per session in a Durable Object (which is how McpAgent works under the hood), and a single agent makes parallel tool calls, you can get conflicts on shared state. Use the DO's transactional storage or design tools to not share state across concurrent invocations.
Cost surprises hit early. A single agent debugging a flow can rack up a lot of browser time in an hour. We added per-user rate limiting (via a KV counter keyed on the OAuth user ID) on day three, after one user's IDE went into a retry loop and burned through a meaningful chunk of our monthly browser-hour allowance. Rate limit from day one.
waitUntil: 'networkidle0' is even worse for agents. Agents pass arbitrary URLs, some of which are SPAs that never settle. Your timeout-and-fall-back logic gets exercised much more than with API clients who tend to pass URLs they've already verified work. Be aggressive with timeouts and surface clear errors when navigation fails — the agent can adapt if it knows why.
What's Next
If you haven't set up the underlying browser layer yet, start with the Cloudflare Browser Rendering API tutorial — it covers session reuse, concurrency limits, and the pricing model that all of the above sits on top of. If you'd rather use Playwright's API for the rendering layer (better selectors, auto-waiting), our Playwright + Cloudflare Browser Rendering guide covers that swap.
RenderScreenshot provides a hosted version of this story — a screenshot and rendering API with caching, signed URLs, presets, and a flat per-screenshot price. We're working on an official MCP server so AI agents can talk to it without you having to wrap it yourself. If that's interesting, drop us a line.